# Getting Started
# Authentication
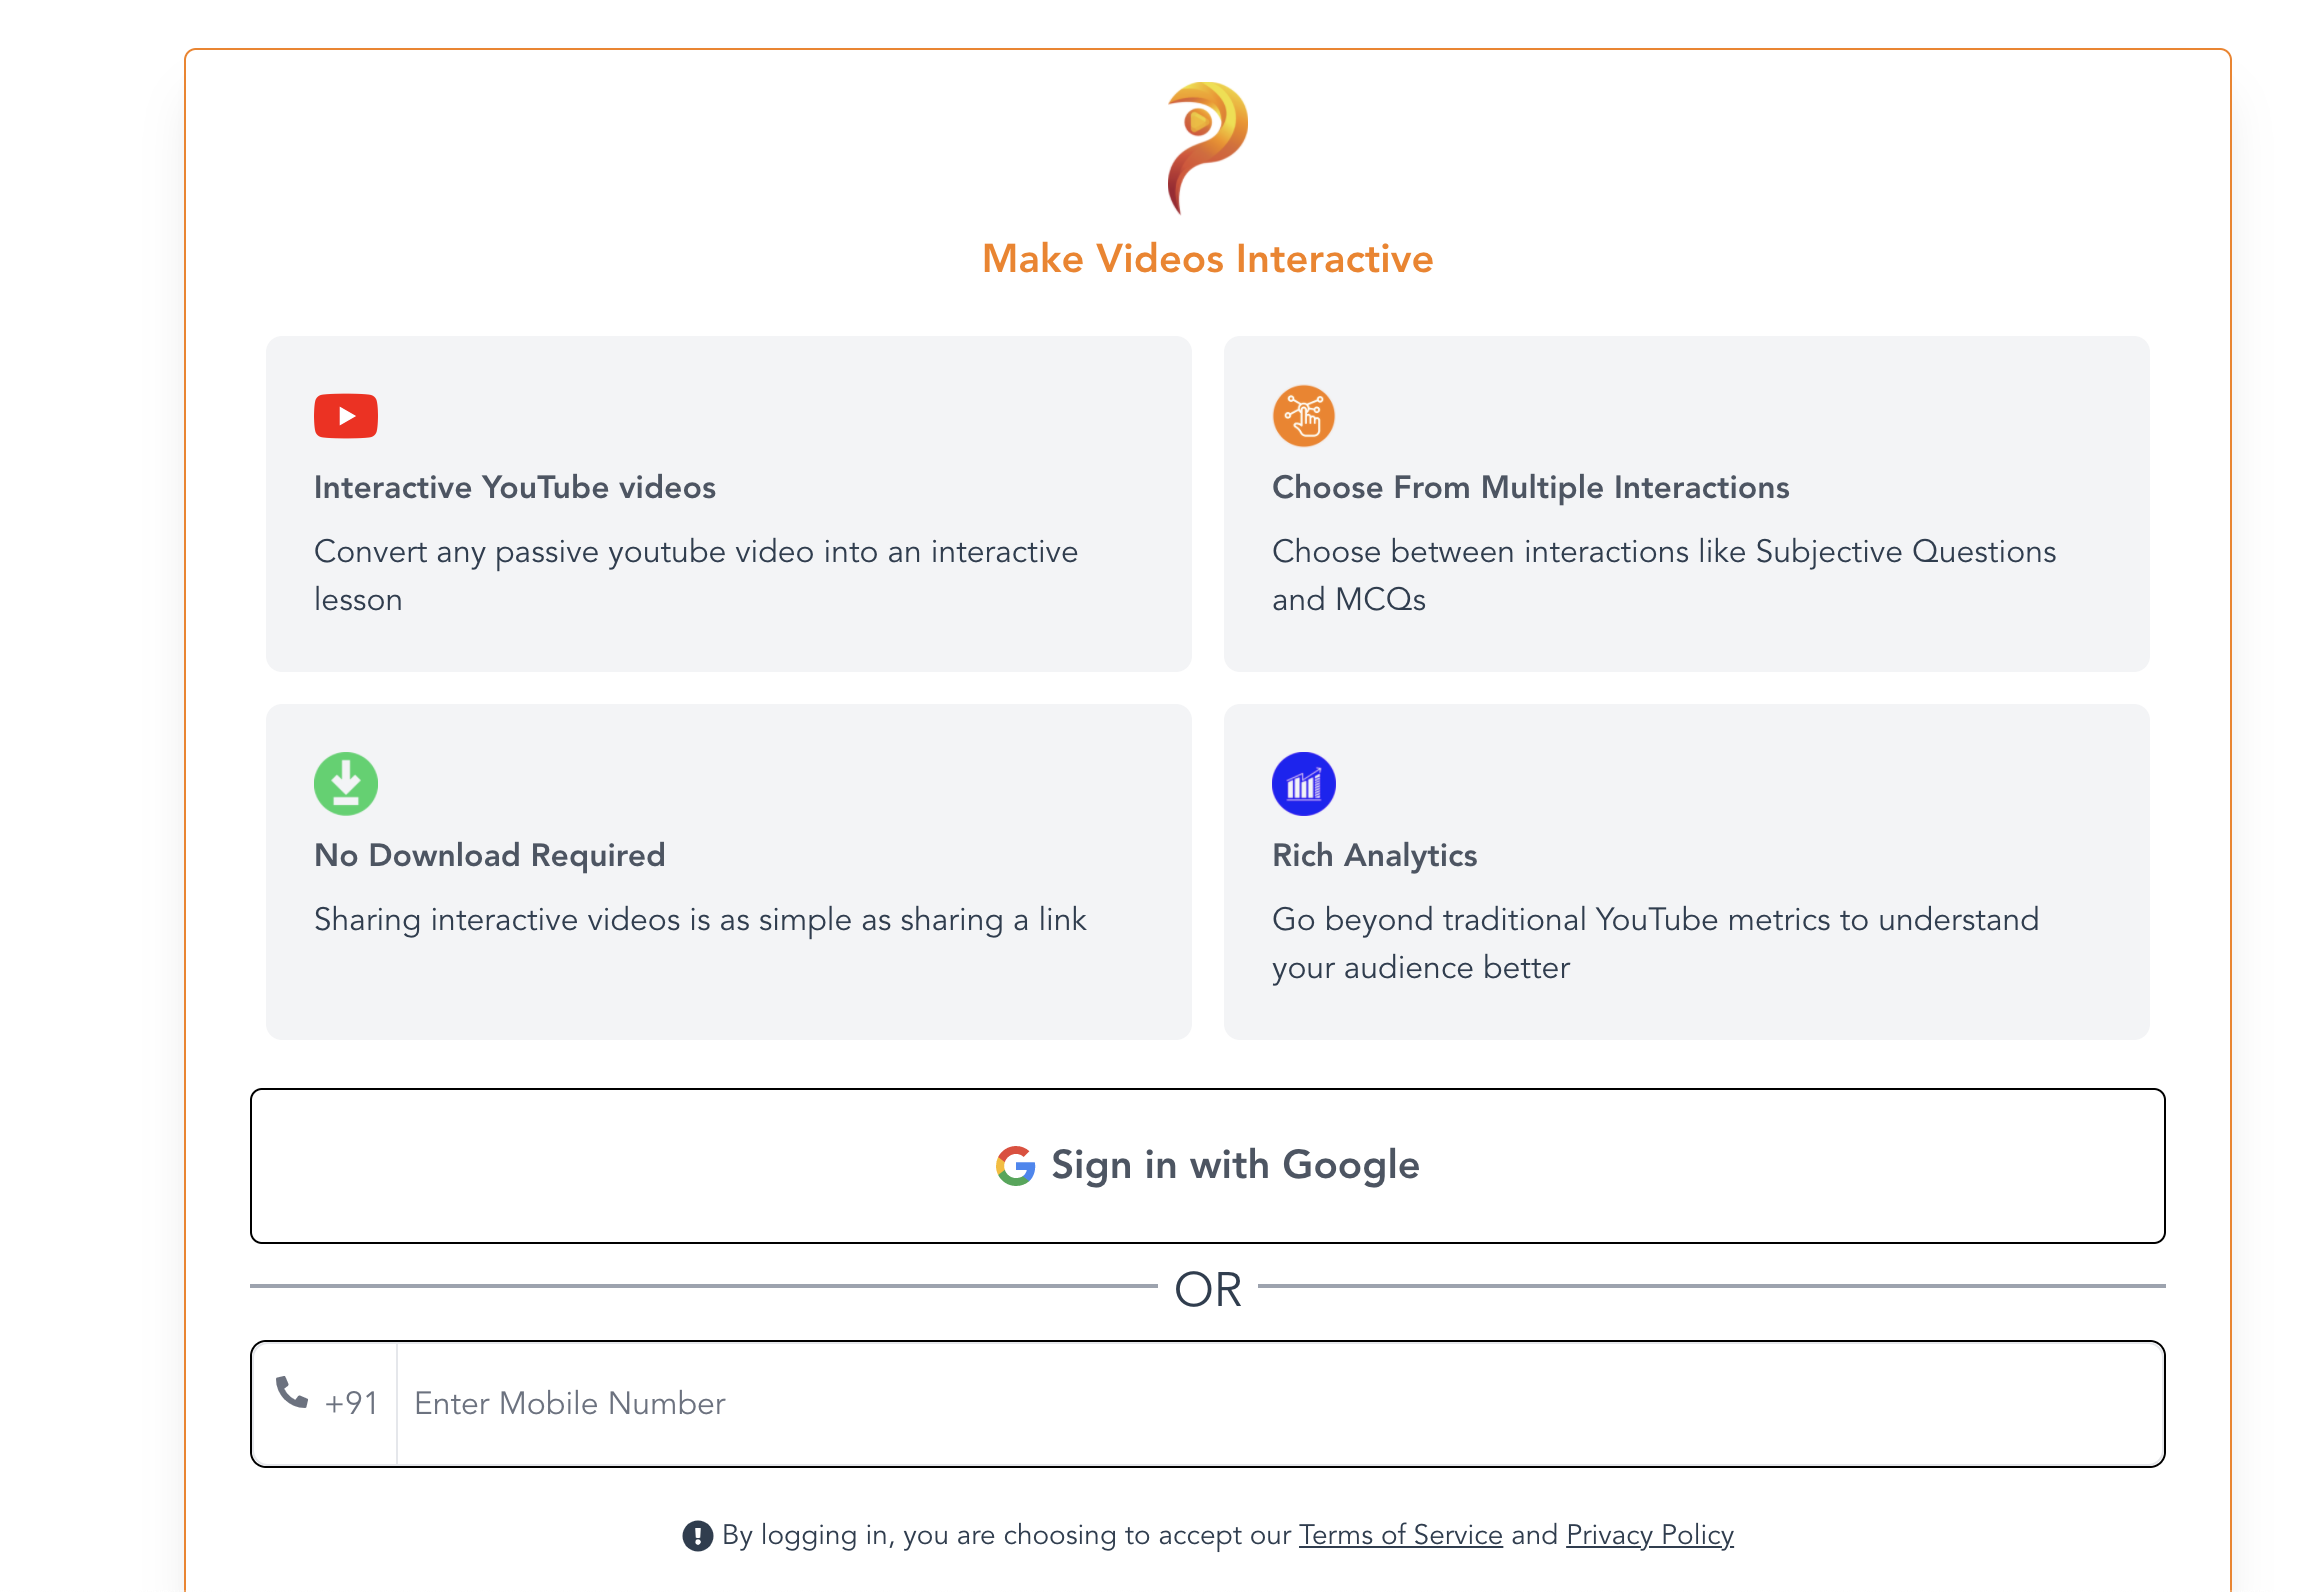
Head over to https://app.plio.inopen in new window. You can login to the platform using your Google e-mail ID or mobile number.
# Creating a plio
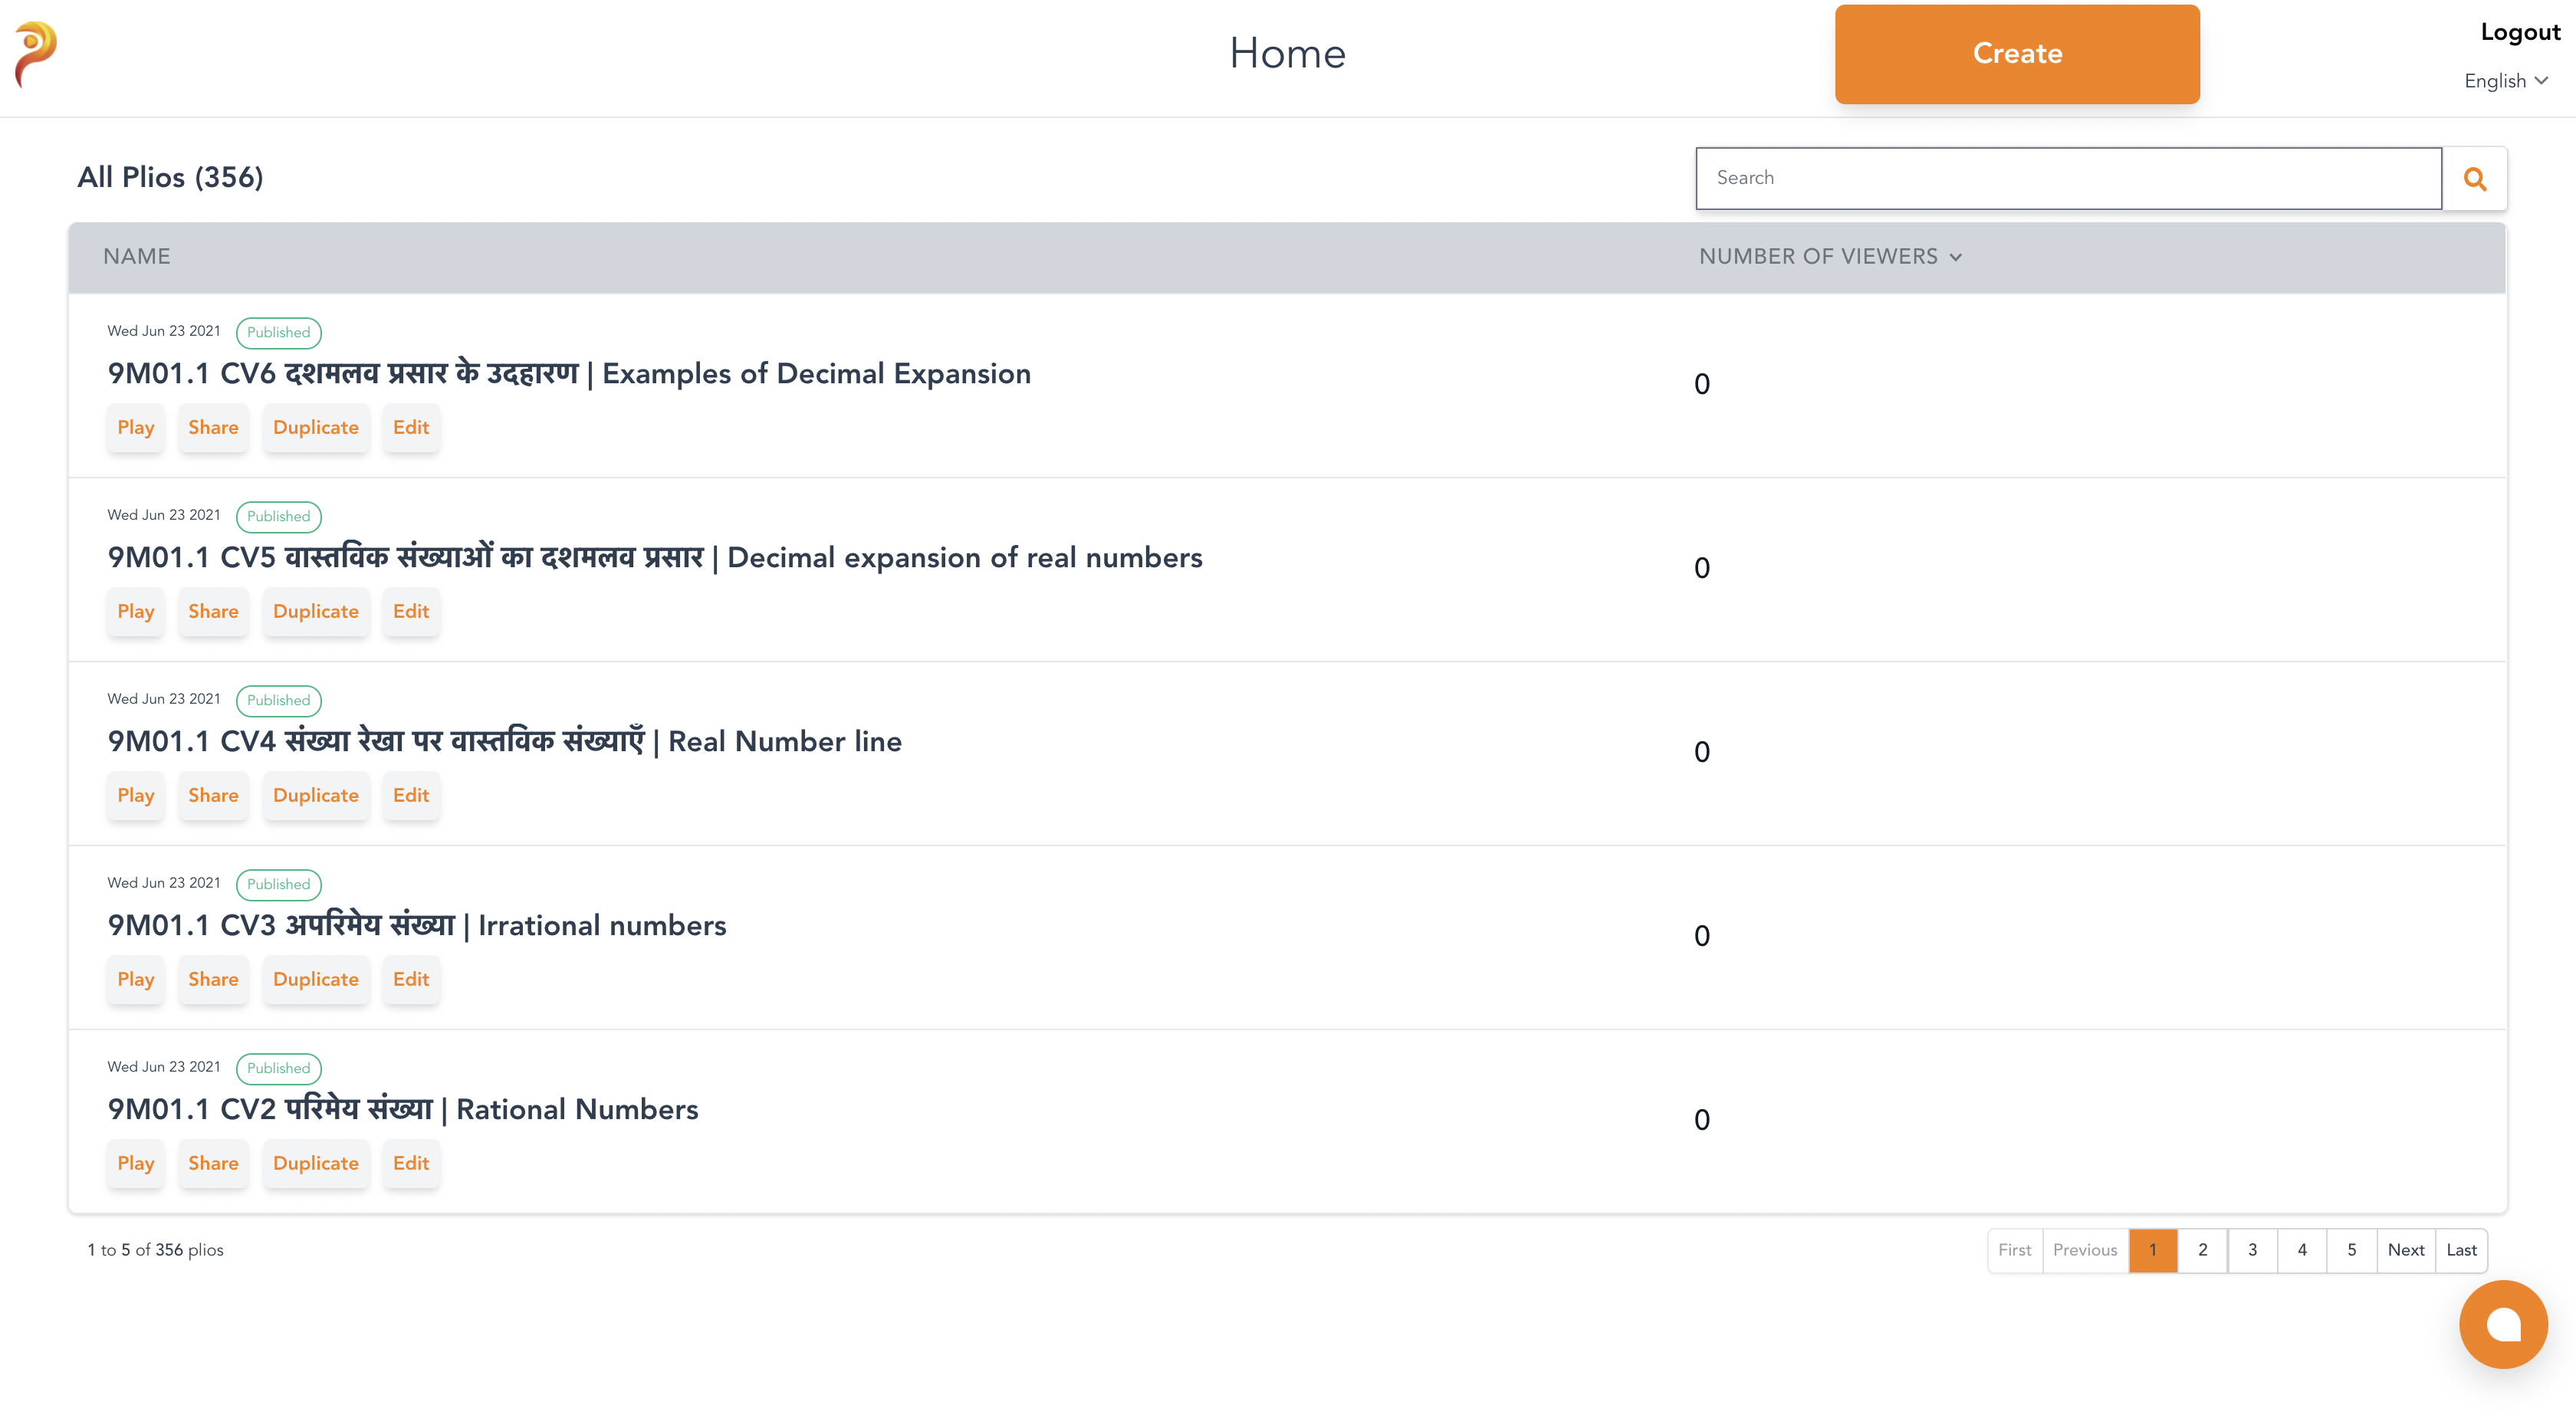
After logging in, you'll be redirected to the home page where you can see the plios that you have created. An example homepage, with some listed plios can be seen below.
TIP
Watch this video to know more about the Plio Home.
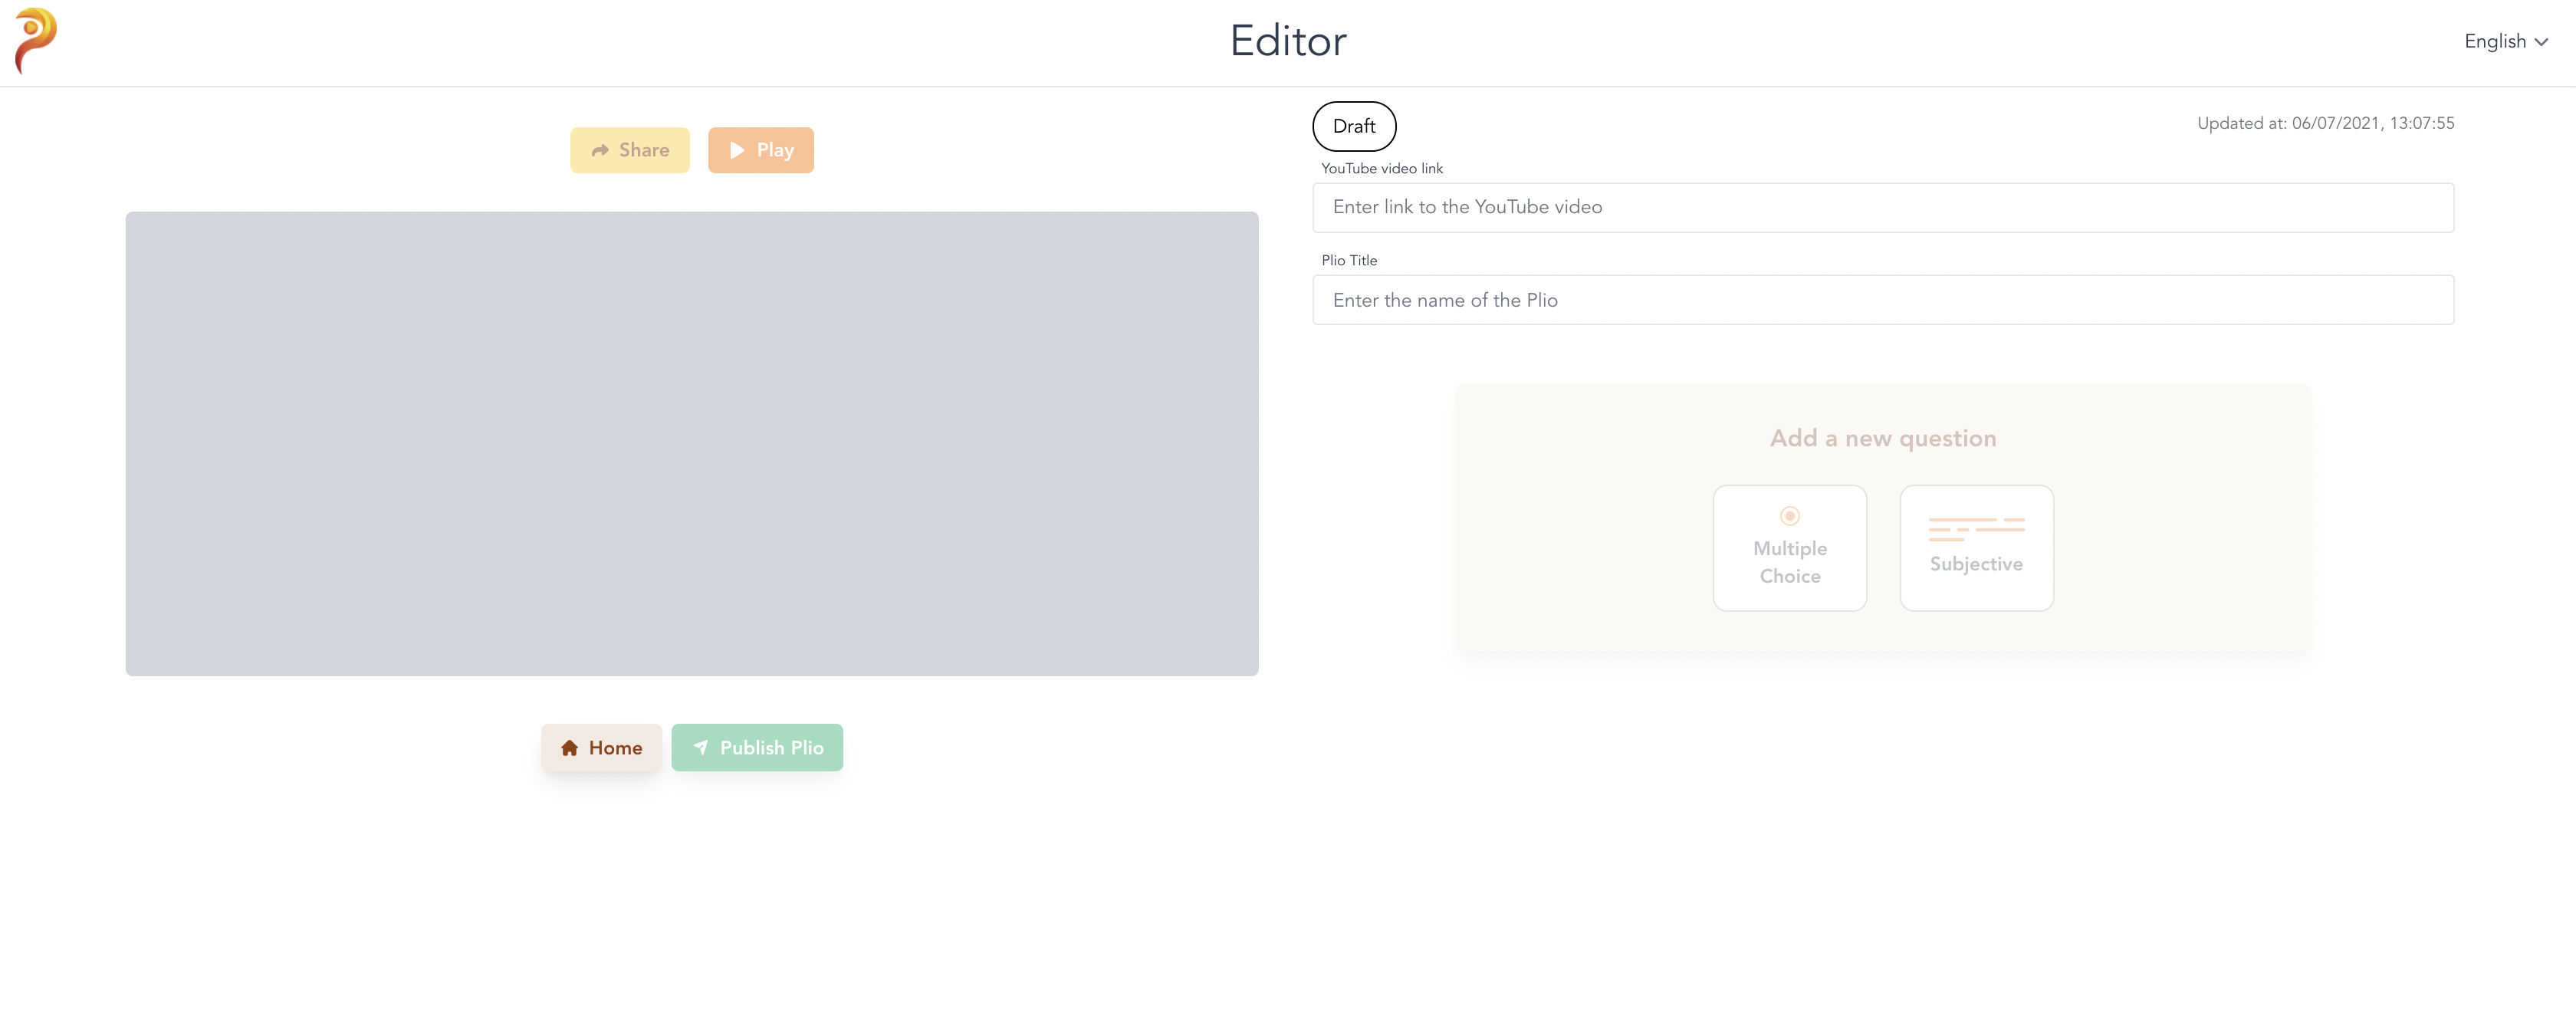
You can click the Create button to create a plio. You'll be redirected to the Editor. The editor will look like this.
TIP
Watch this video to know more about the Plio Editor.
# Sharing a plio
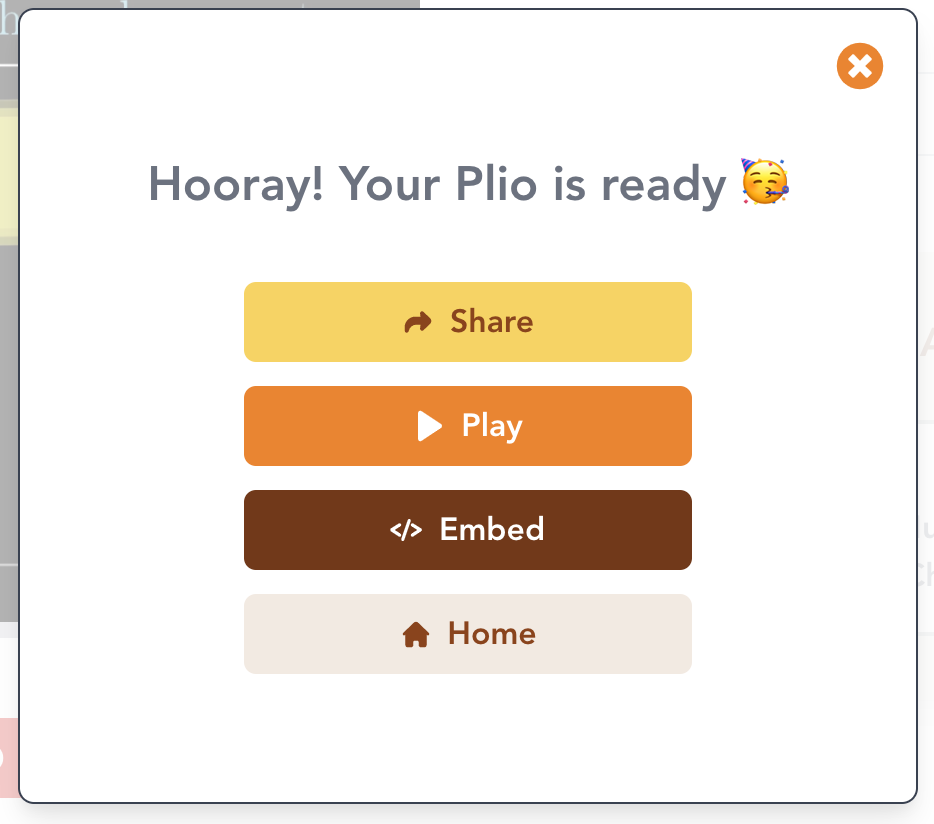
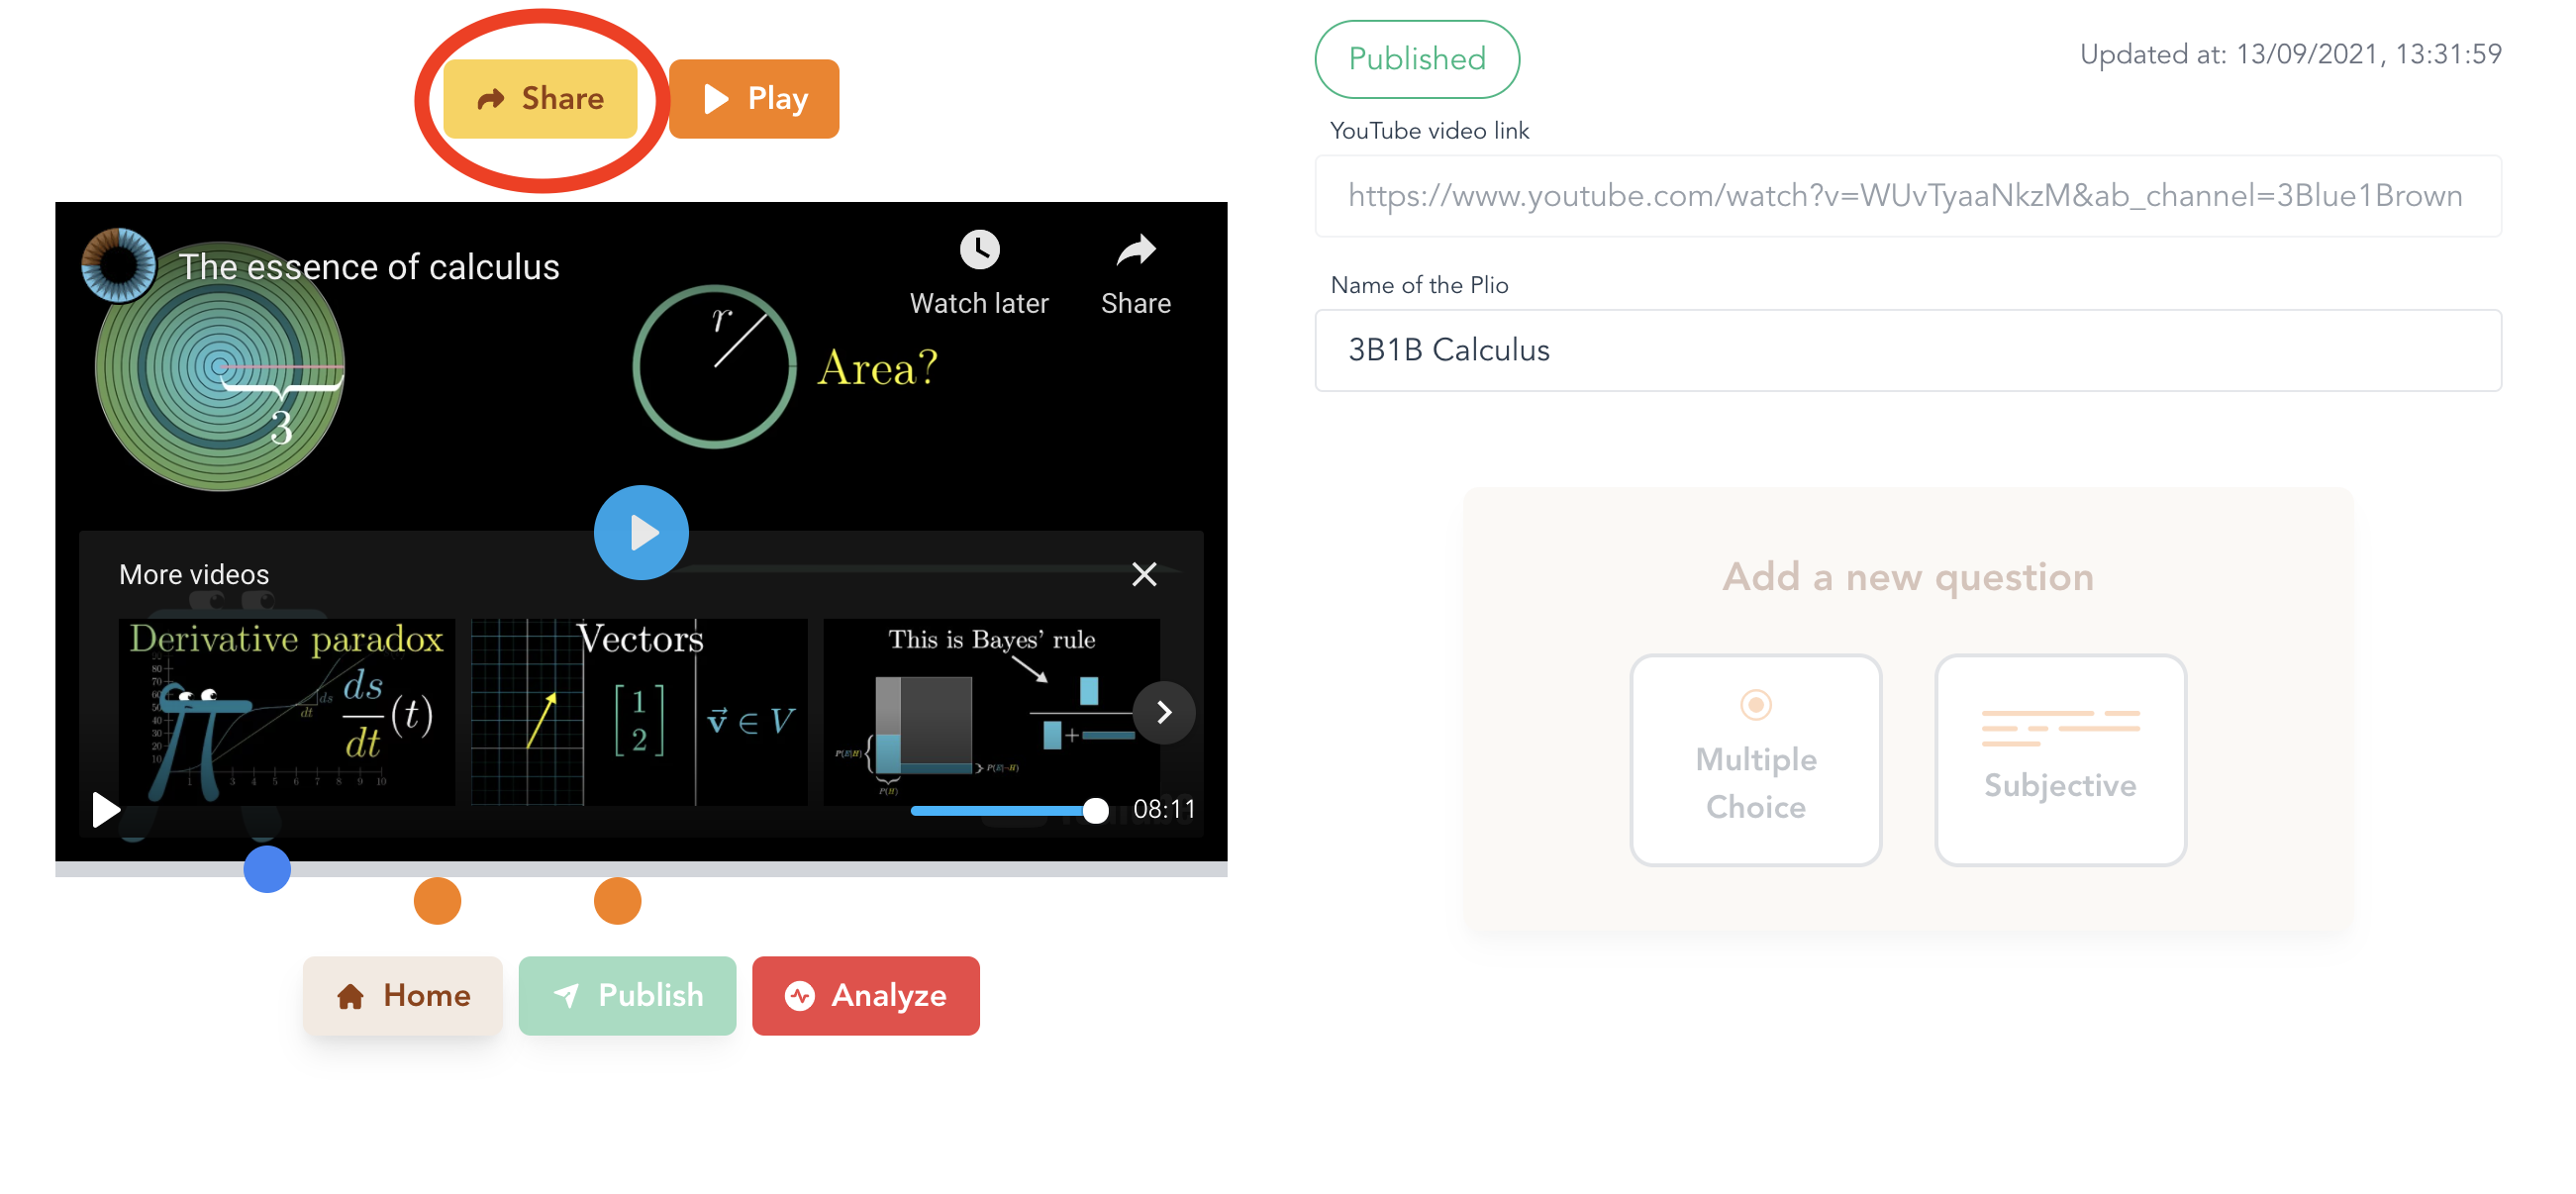
After publishing a plio, you can share the link of the plio with your viewers. Once you hit Publish, you will see a Share button as shown below.
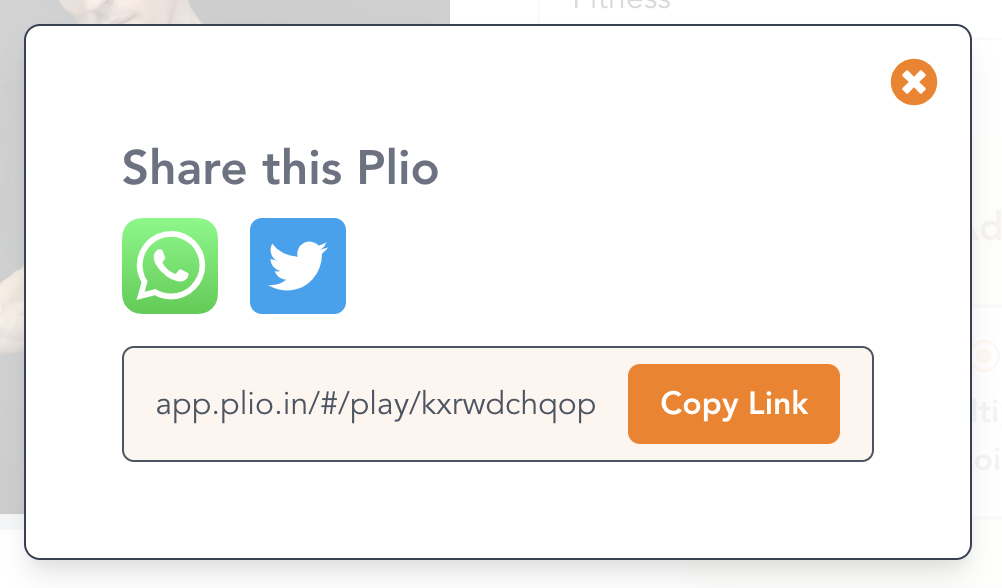
Upon clicking the Share button, you will get a pop-up containing the link which you can copy by clicking on Copy Link. You can also click on the icons below to share the link on the respective apps.
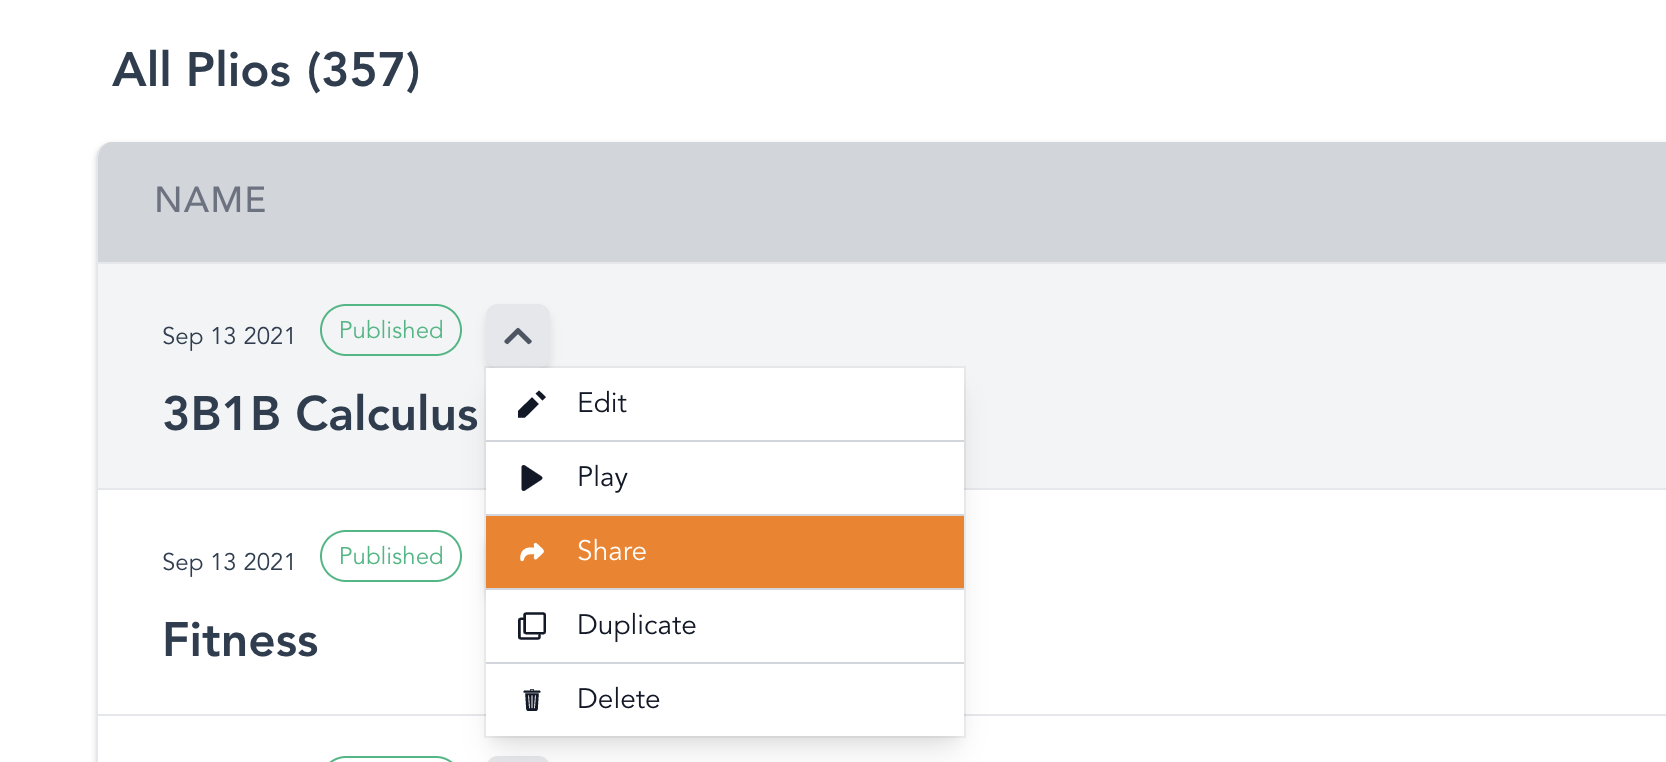
You can also come back later and share the link to the plio from both the Editor and the Home page:
# Embedding a plio
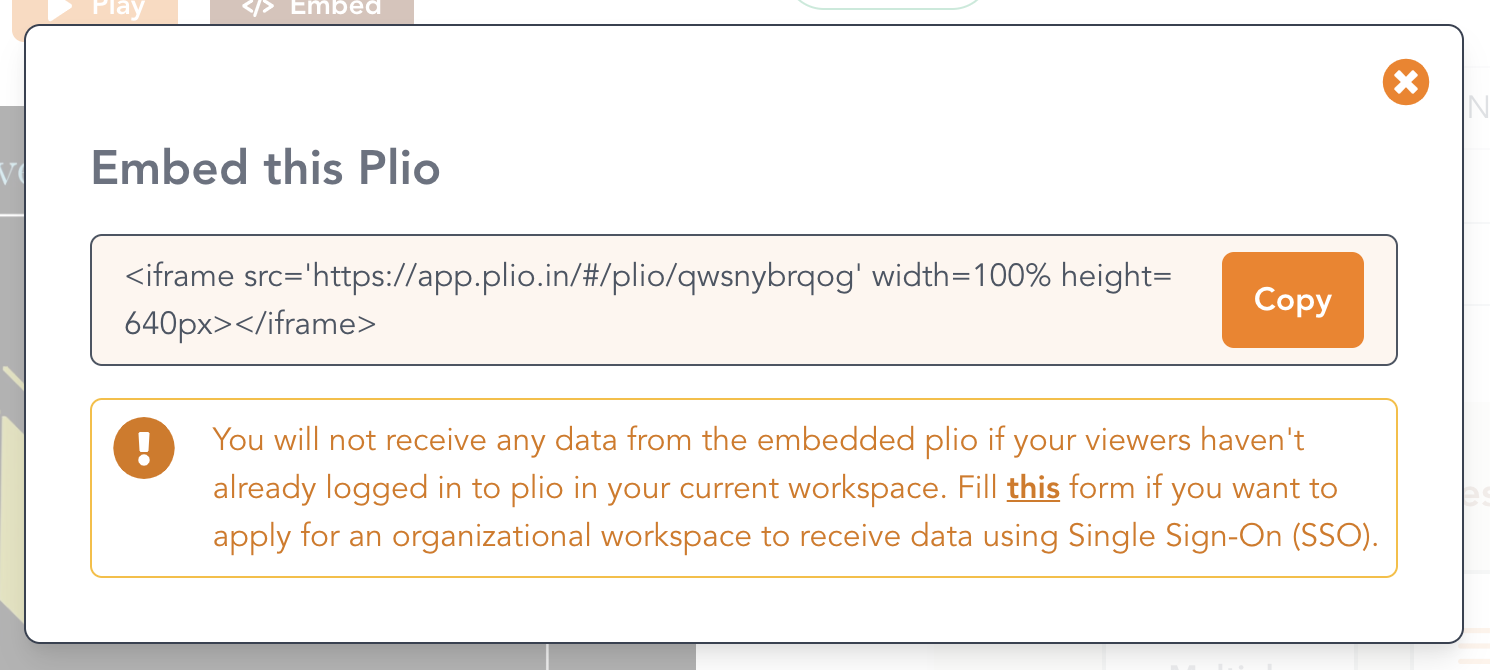
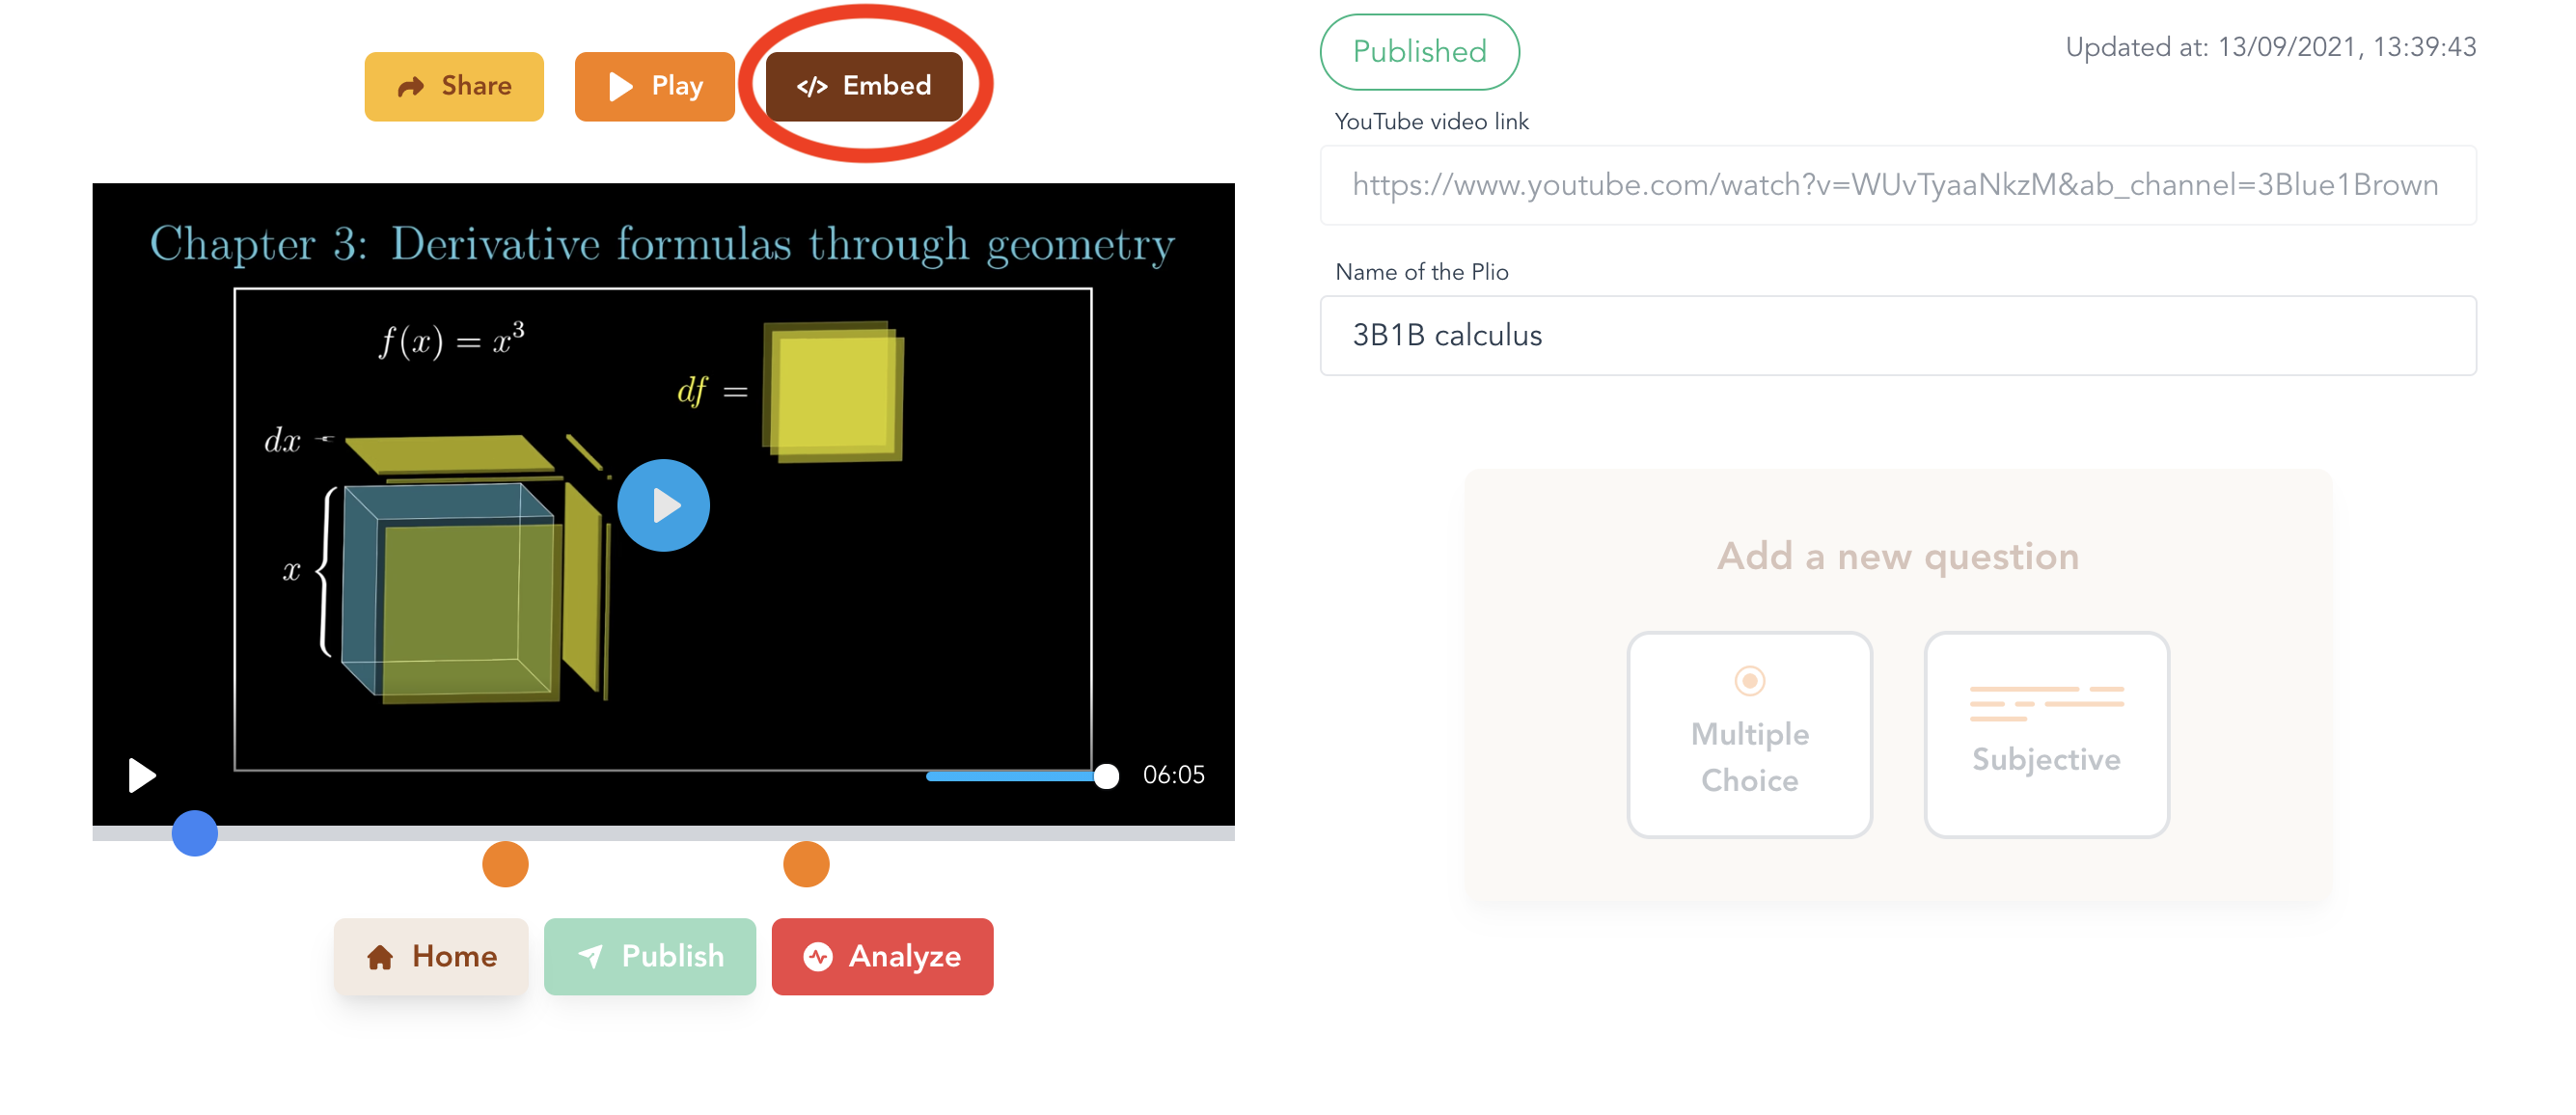
You can embed your plio in your website too. Once you hit Publish, you will see an Embed button as shown below.
Upon clicking the Embed button, you will get a pop-up containing the embed code which you can copy by clicking on Copy.
You can simply add the copied embed code to your website and voilà, the plio will be embedded in your website. You can also come back later and find the embed code from the Editor by clicking on the Embed button shown below:
NOTE
In the default plan, you will not receive any data from the embedded plio if your viewers haven't already logged in to plio. You can fill thisopen in new window form if you want to apply for an organizational plan to receive data using Single Sign-On (SSO).
# Watching a plio
After you've created and published your plio, you can share the plio's link to your viewers. When your viewers click on the link, it will redirect them to the plio player on a browser where they can attempt the plio.
TIP
Watch this video to know more about the Plio Player.
# Analysing a plio
After your plio has been watched and attempted by some viewers, you can start analysing the data that is being gathered from these viewers. You can see the data gathered for a plio by heading back to the home page, hovering over the plio you're interested in and clicking the Analyse button. This will redirect you to the Dashboard for that plio.
TIP
Watch this video to know more about the Plio Dashboard.
TIP
The whole product guide is available in the form of videos hereopen in new window.
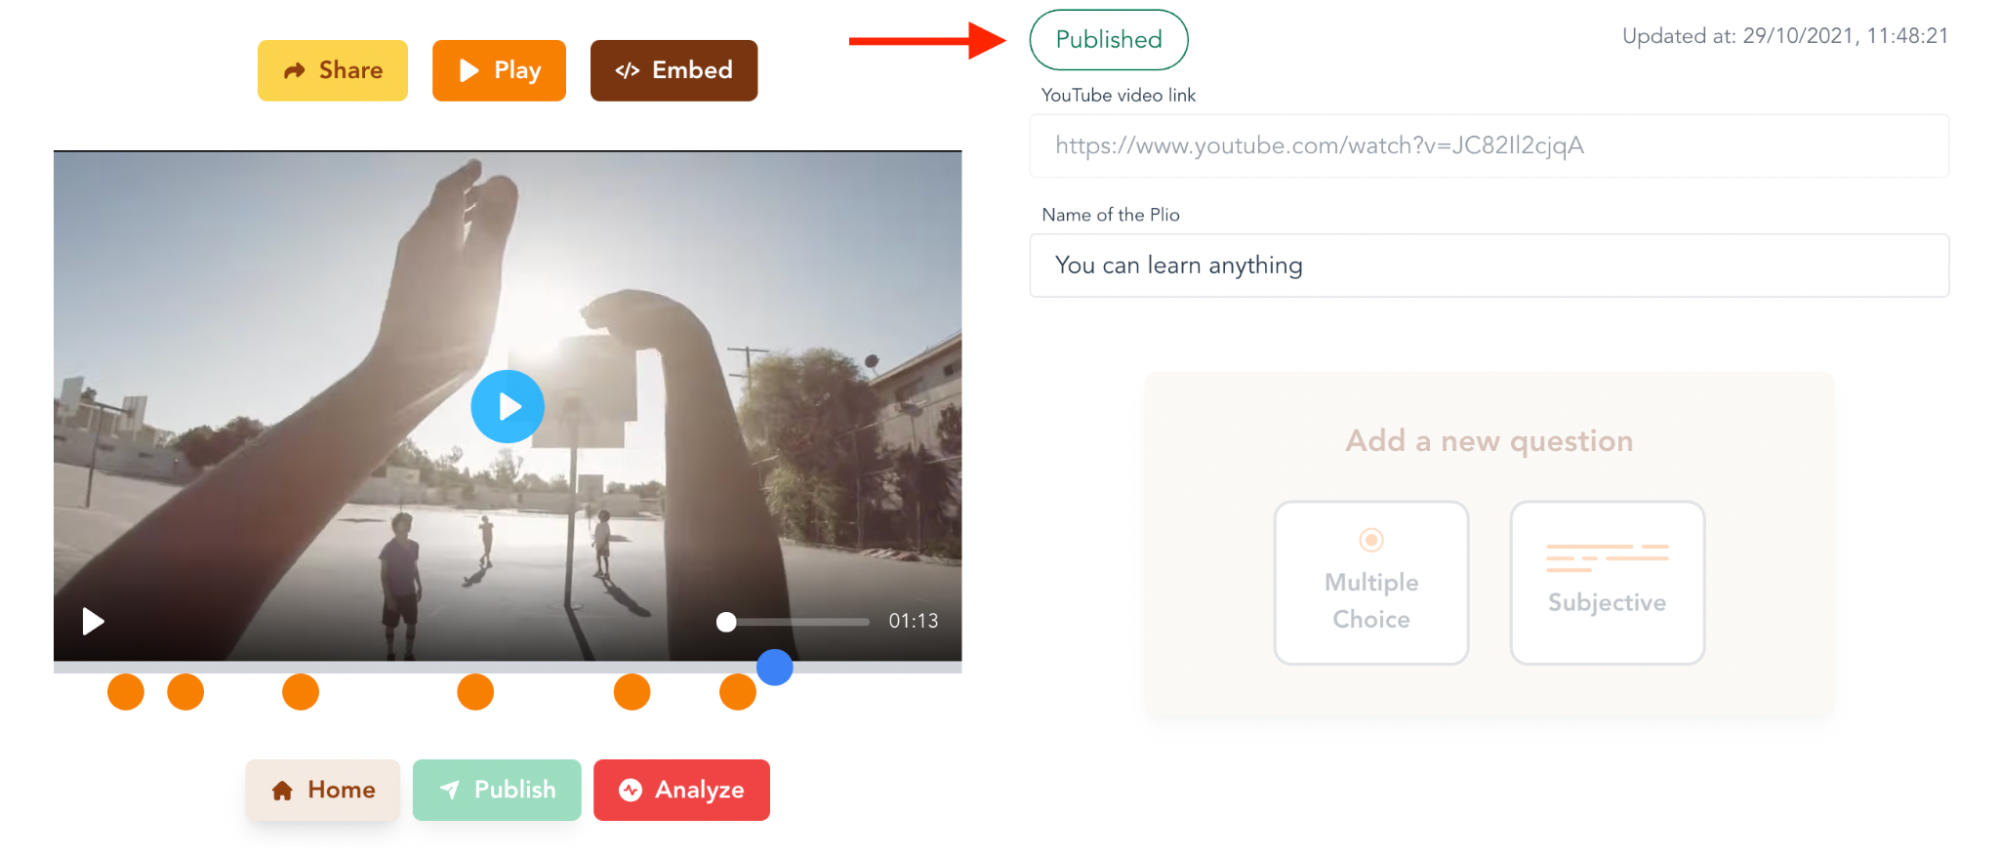
# Draft and Published Modes
A plio can be in one of two modes - Draft or Published.
A plio is in the draft mode when you start the creation process.
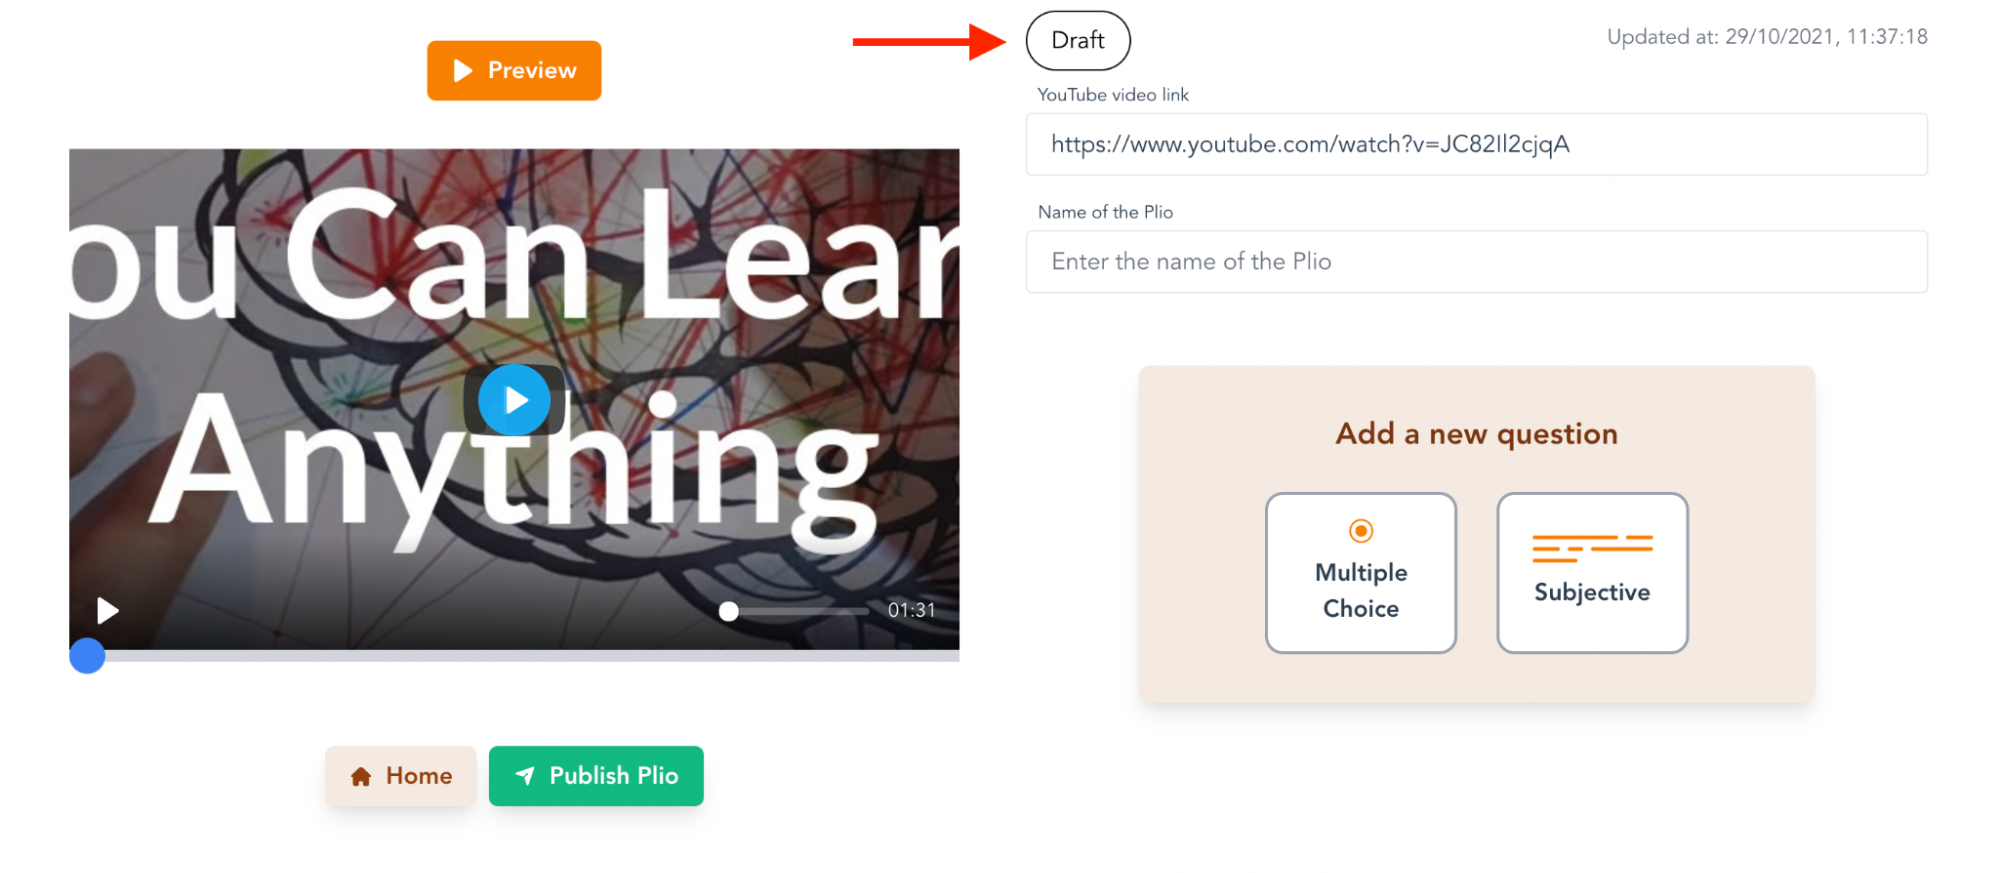
In this mode, you can add questions to the video, options to questions, edit the type for existing questions and their timestamps, and a lot more.
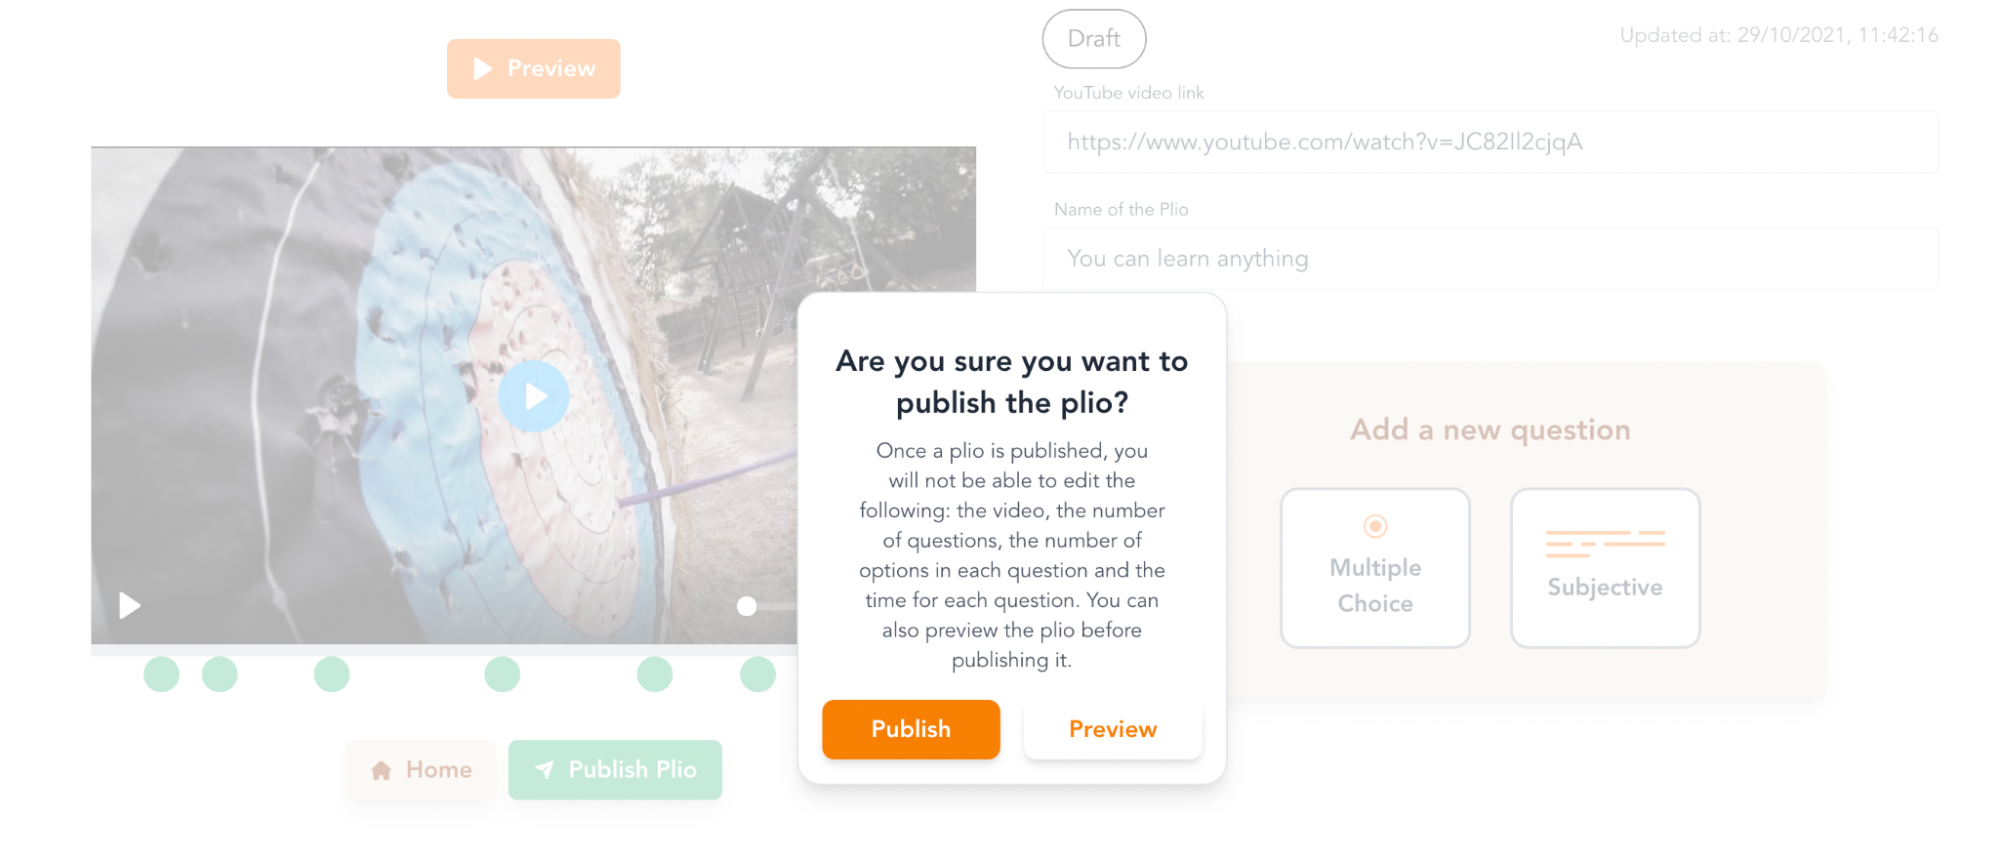
Once you are done adding all questions, you can click on the “Publish Plio” button.
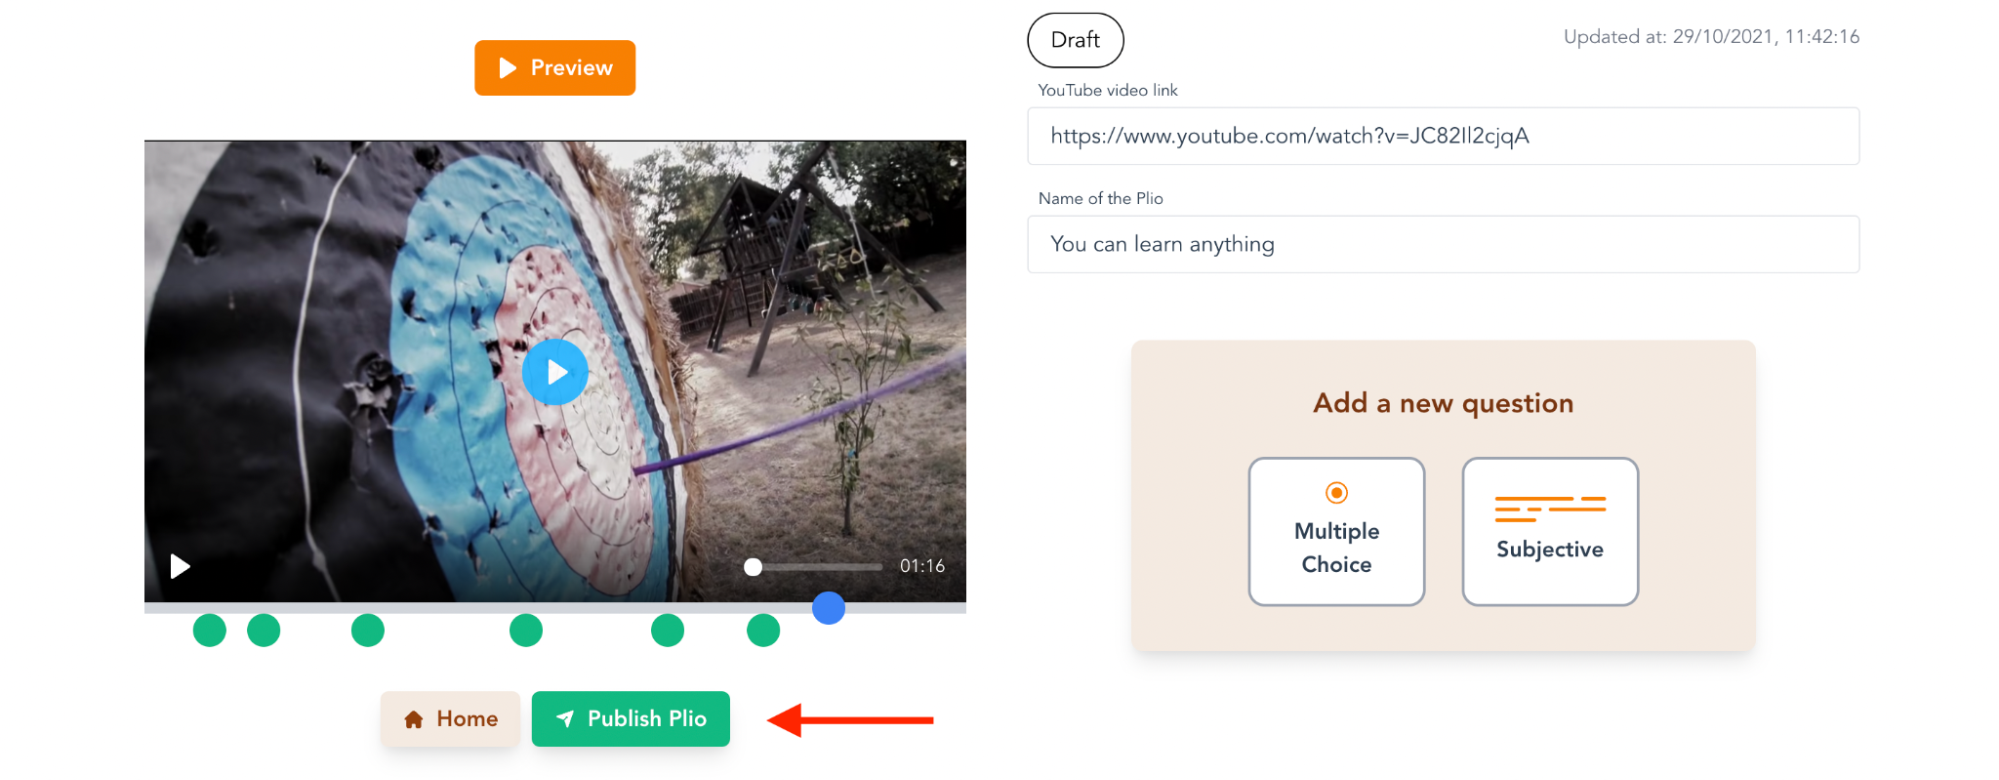
On clicking the publish button, you will be asked to confirm this step. This is because once a plio is published, you will not be able to edit the following: the video, the number of questions, the number of options in each question and the time for each question. You can also preview the plio before publishing it and experience it the same way a student would.
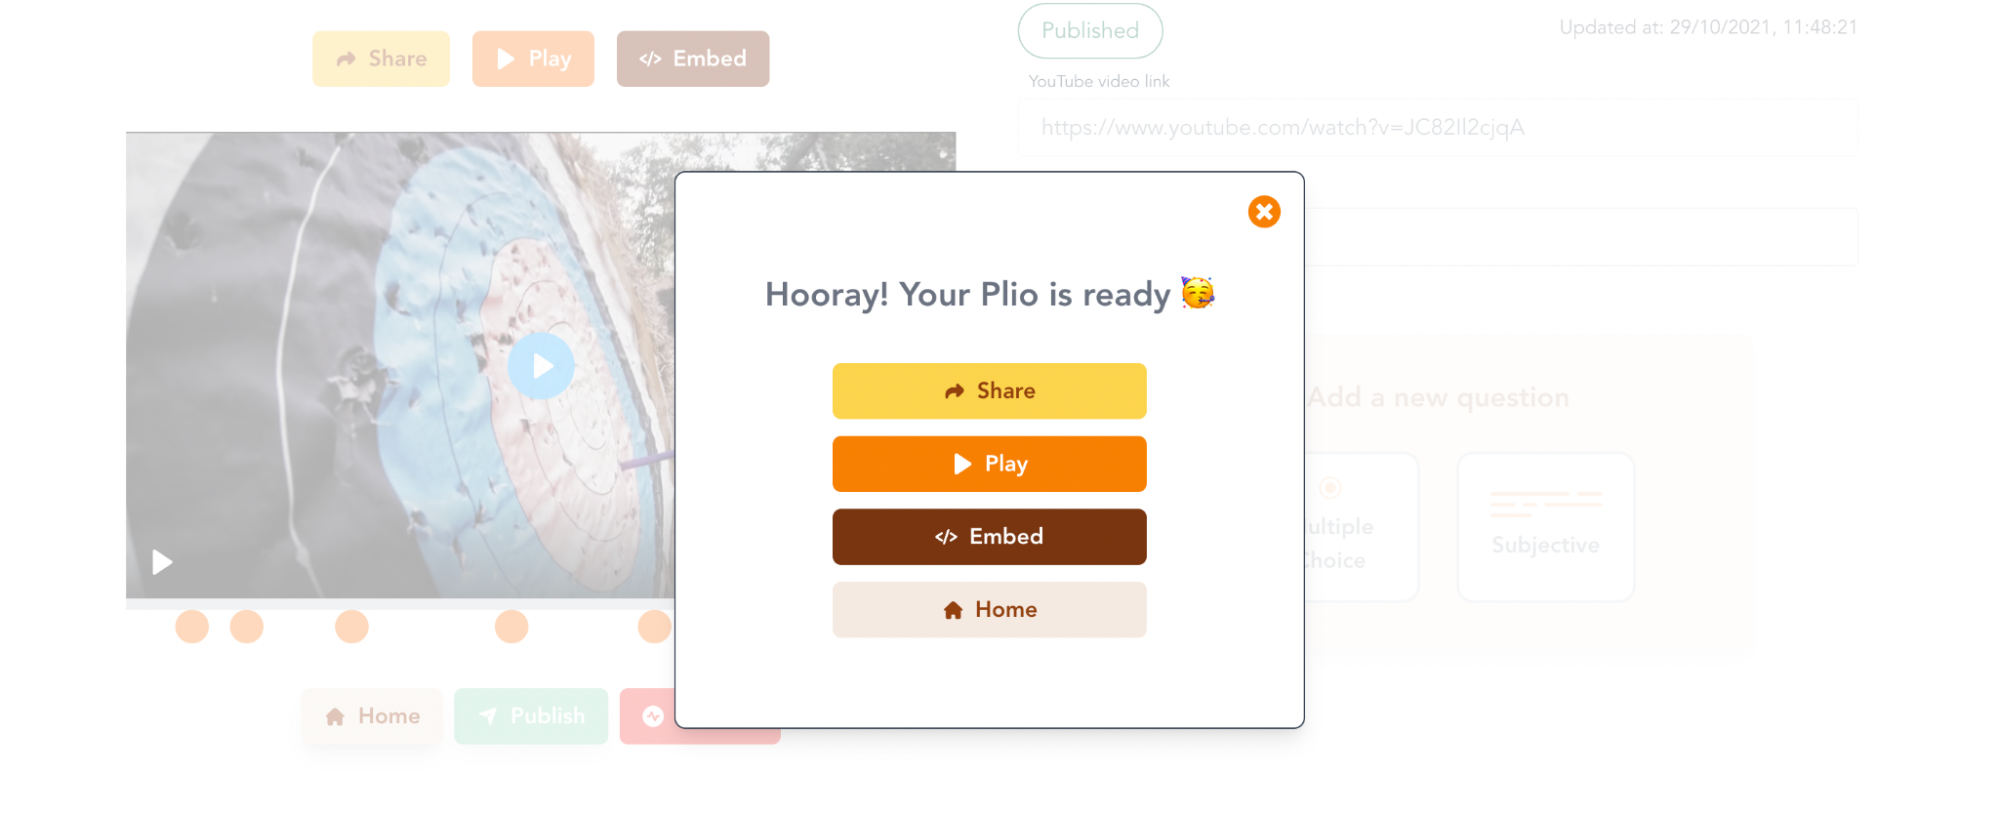
Once the plio is published, the plio link will be generated and you will be prompted with the option to share, play or embed the plio or go back to the home page.
In the published mode, you can only change the text of the questions or options.